Let’s Get Creative: How to Paint with Colored Pencils

Happy International Left-Handers’ Day
August 13, 2021
How Doodling Helps You Relax in Meetings
August 25, 2021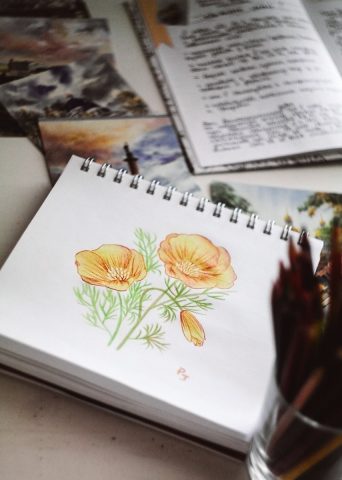
For our August art inspiration, the Business Optimizer team is exploring colored pencil instructions and asking: What are the best tips and techniques for creating art using colored pencils?
As summer continues, we’re always on the lookout for new activities to try out during the long, light-filled evenings and our sun-soaked vacations – especially to keep the kids amused.
Whether a beginner or a serious artist, creating art using colored pencils is a much-loved favorite. Colored pencils are simple to use, accessible to all, easy to travel with, and low mess, yet it’s possible to create some amazing results.
Business Optimizer explores some of the tips and techniques for creating art with colored pencils.
#1. Start with some good quality paper
Choose the paper that works for the style you choose. For sharper lines, a paper with a smooth finish is going to produce cleaner results.
Whatever is your style, always look for top-notch quality paper with the perfect thickness and opacity. No one likes a show-through paper, especially when a masterpiece is in progress. Take a pick at Navigator’s paper Aesthetic & Creative range and chose your next “Picasso moment.”
#2. Directional lines
Drawing lightly in one direction often comes most naturally when starting to draw with colored pencils. Think about which direction the lines should run in… and how obvious you should make the lines! For example, a field of long grass or wheat would benefit from clearly defined lines.
#3. Layering color
The ease with which it’s possible to layer color is one of the great advantages of working with colored pencils. Be confident with your choice of colors. Why shouldn’t there be lines of blue and yellow shot through your field of long grass? Additional colors add depth and texture, so it’s worth experimenting with color.
#4. Cross-hatching
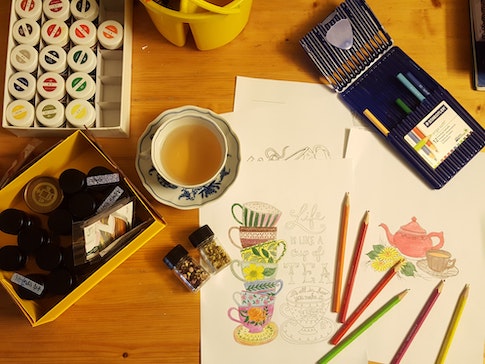
Cross hatching is great for adding a greater depth or intensity of color or adding texture. Simply go over the directional lines you have drawn in the opposite direction to create a cross-hatch effect. By experimenting with different spaces between the lines, you can create different textural effects.
#5. Circular movements
Press on lightly and use circular movements as you work your colored pencil over your paper and you can avoid the appearance of lines altogether. You can build up the intensity of the color by going over the same area softly but repeatedly until you achieve the depth of color you want.
#6. Color blending
Color blending is remarkably easy to achieve with colored pencils. Start by pressing lightly on in one color, using circular movements. Then repeat with your next color. Gradually build up and combine the colors until you achieve the blend you want. This is a useful technique for transitioning from one color to another, such as across a skyline lit by sunset.
#7. Rubbing
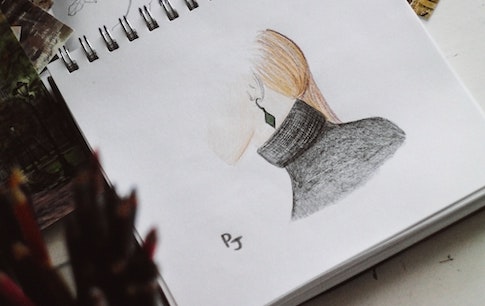
If your pencils are soft enough, it is possible to blend them simply by rubbing your finger over them.
#8. Burnishing
The circular movement technique is also great for building up intense areas of color without visible pencil lines. Simply continue adding layers of color until the surface of the paper appears waxy and smooth.
#9. Oil or alcohol
To blend more extensively, you can merge your colored pencil lines using a little baby oil or rubbing alcohol/ surgical spirit applied to a cotton bud. Simply drag the cotton bud over the sections you wish to blend and you’ll create a liquid or smear effect as the colors pool together.
#10. If you’re having fun, invest in some great pencils and paper
The great thing about working with colored pencils is the fact they are really accessible to all and inexpensive to buy. However, if you’re loving using colored pencils in your artwork, it’s definitely worth investing in some great colored pencils to take your artwork to the next level.
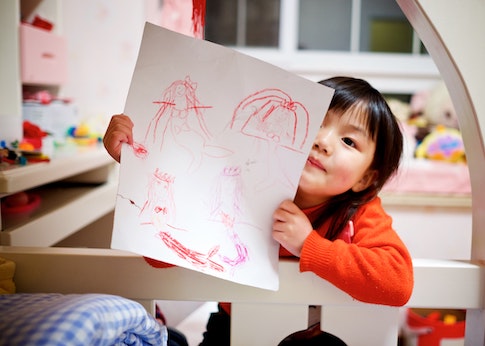
The Derwent brand of colored pencils are fantastic – with specialist pencils for blending, metallics, or sharp lines for graphic design.
Ready for some more summer art inspiration?
Read our blog detailing four summer papercraft activities.
Need some summer activity inspiration for your kids?
How about a list of some of this summer’s popular art challenges?


